Making Ground Poles
Today is a little bit different. We are taking a break from being in the saddle, and we are going to be giving your horse a well-deserved day off too. Today we are going to be making ground poles.
I love days like today. Because today we are going to be building something! Now don’t panic, there are no tools involved, unless you count a caulking gun, sander, and paintbrush. But that’s it.
I love creating different pieces of equipment that I can use when I am working with my horses. And this project is one of the easiest to make, while also being one of the most useful pieces of equipment you can make for yourself.
And making your own ground poles can also double as jump rails. So you can use these poles for many different activities. And did I mention they are simple to make? And the best part is they are so inexpensive to make. You can make a set of 10 poles for less than $60.00! Isn’t that great?!?!

And if you follow my simple instructions for making these ground poles, they will be ready for you to use tomorrow.
Hopefully you have a Home Depot close by. But if you don’t, most home improvement stores should have something like these landscaping timbers. The Cherry tone timbers at Home Depot are the best ones I have found for my jump building, and they are the most affordably priced.

Below you will find a shopping list of what you are going to need to buy.
What You Will Need
10 Cherry tone landscape timbers
1 Gallon Kilz 2 primer (water based)
4 tubes of acrylic painters caulk
1 package of sandpaper
Paintbrush
If you are planning on making more poles, or other pieces of jumping equipment, you may want to buy the 2 gallon bucket of Kilz 2 primer. It lasts forever, and is a better deal. I usually buy it this way, then I usually always have some primer paint for whatever product I am working on.
What You Will Do
Once you have your supplies, now you need to set up something to work on your landscaping timbers. I made some big pieces that I can move around to hold my poles. If you don’t have anything, even paint cans will work. You just need to raise the poles up off of the ground.
Sanding The Timbers
What I like to do first is remove the staple and tag from the end. And then I sand the poles. You don’t have to get carried away, but get all of the rough areas down on the pole. I sand all of my poles, and then move them out of the way before moving on to the next step.
Fill and Caulk
One thing I have noticed with these timbers is they tend to have a lot of splits. The easiest way to deal with these cracks and splits is to fill them is with latex caulk. The painter’s caulk is the absolute best in my opinion. It is inexpensive and goes a long way. Depending on how many splits there are, I can usually use 1 tube of caulk to about 3 to 5 rails. And the caulk also helps to seal the wood. Which is an added bonus, especially if your jumps will be living outside.
Paint The Poles
Now that the poles have all been caulked, now you can grab that bucket of pain, and paint away! I like to do several think coats of paint, allowing about an hour between each coat. The thinner coats of paint look better, and you don’t end up with runs.

If you start this process in the morning, you can get at least 3 to 4 coats of paint on them, if you want. And then after sitting overnight, they will be ready for use tomorrow! And we will be using them tomorrow!
Different Ground Pole Exercises
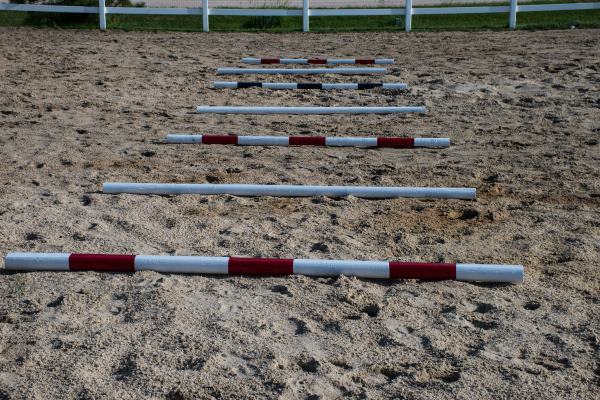
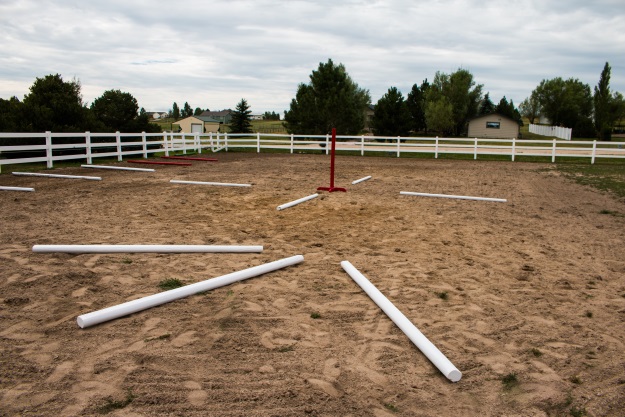
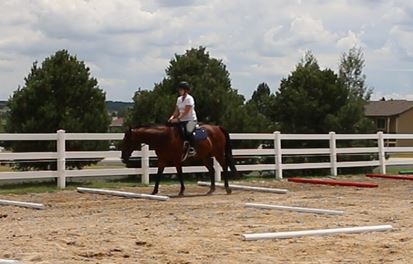
There are a lot of different exercises you can do with your ground poles. You can use them as trot poles in a straight line. You can use them in a half circle pattern. Or you can even raise the ends to have raised poles.

One of my favorite things to do is use the poles as a template for a jump course.
If I have an idea in my head about a course of jumps, sometimes I will lay out ground poles first. And then I will work my horses over my course of trot poles.

This way I can fine tune my “course”. It is easier to make changes to one pole on the ground then moving a bunch of jumping equipment. I do like to get my steps in, but when its 90 degrees out, I would rather do something else, like stay cool.
So that is our project for today. Hopefully you found it a little different, and fun. Tomorrow we will be riding again, so enjoy the break today. I’m sure your horse did!

Don’t forget to write down your plank minutes, and then cross of Day 16. You did it!


 Pamper Your Horse Day 15 Being A Better Rider Challenge
I am excited to make these. Especially after seeing the price tag of the professional ones online to purchase. Yikes!!! Thx for sharing your idea.
What size Cherry tone landscape timbers do you use for this project?
britty
Hi Britty 🙂
The landscaping timbers are 8 foot long. I wish they came in 10 foot long! But I make do with the 8 foot ones. They work, and they are affordable!
~Lisa
how much Are they
Great trotting poles. My local home depot has them for $3.97 each…great value. Thanks so much for sharing!
I think you & your ideas are AMAZING, thank you so much for sharing all of them.
Are these poles heavy? What’s the diameter ? Is it ok to use PVC poles if you only use as ground poles no jumping?
Hi Rose 🙂
First, no the poles are not too heavy and are easy to move. It has been my experience that you do want them to have a little bit of weight to the ground poles (just like poles for jumps) so they don’t move much if they get knocked into. And your horse will knock into them. The diameter of the poles for the landscaping timbers is about 3″ if I remember correctly. And I would not use PVC poles for ground poles because if they are lightweight they will move a lot, and if your horse knocks into it and it rolls forward he could trip, or worse break the pvc pole and could get hurt.
Also, the landscaping timbers are more affordable than PVC too.
I hope this answers your questions!